

Mineral cleaning
Slowly clearing through the 101 things – Also a very, very general guide covering off some of the basics and in no way exhaustive. I don’t take responsibility or accountability for any oopsies – If you spill acid, drop your rock or do something similar (don’t worry, it’s happened to all of us!)
I am going to assume a few things –
- You’re fairly comfortable cleaning rocks with soapy water and toothbrushes
- You’ve some interest in acids and other (mechanical) cleaning methods
- You’re not using the same toothbrush you use to clean rocks at night over the sink before bed (it’s gritty, really gritty, do not suggest)
I’ll also preface this with a few of the more obvious things –
- Always add the acid to water and not the water to the acid
- Make sure you’re using the correct PPE:
- Strong acids (e.g., sulphuric) will do nasty things to nitrile gloves
- Check a glove compatibility chart and get e.g., butyl acid gloves
- Make sure you have adequate ventilation (I’ll let you look this one up)
- Protect against splashes (eyes and body, PPE!) as well as inhalation
Take this article as informative only!
Ultrasonic cleaning
Generally speaking, most, if not all, of the glitzy mineral specimens you see on dealer sites, or for sale at events and open days have been through an ultrasonic cleaner (with varying effectiveness).
The small ultrasonic cleaners used for jewelry and similar things don’t usually work – You want at least a liter capacity, with two or more transducers and a heating element. They don’t come cheap – Expect to pay R2500 and up – The greater the capacity, the more you pay. Feel free to ask on the forum for advice on which ones to get! The image below is a good option for mineral specimens, and what you’re looking for, more or less.
Ultrasonic cleaners work by using high frequency sound (seriously, don’t make a phone call next to one of these, the poor guy on the other side of the line is in for a fun sound), to induce cavitation in the water. This creates millions of tiny bubbles – too small to see – that implode, creating a sort of “scrubbing” action, i.e., mechanical cleaning, that removes dirt extremely effectively.

As far as basics go, always make sure the ultrasonic cleaner is filled to the marked line (with the specimens submerged), only put water directly into the tank and if you can get an ultrasonic basket – Handy to suspend your mineral specimens over the transducer.
For general use, water with a bit of dish soap, your rocks in the basket and a good long time to brew is the sum total of the recipe – Most minerals I’ll leave in there for 5-30 minutes. You’ve probably heard the horror stories of minerals shattering – I haven’t really encountered this.
It usually happens due to thermal shock, and making sure your water temperature matches the temperature of the rock (I.e., heat the water and the rock together from room temperature to about 40 degrees) tends to negate this.
the fun stuff
So, we’ve covered off the general use of an ultrasonic cleaner for mineral specimens. But wait, there’s more!
You may want to invest in a few beakers of different sizes (I’ve got them down to 50ml) – You can “float” the beaker in the water with a different solution (plus the mineral) in the beaker with quite effective results. And yes, this includes acids, too. It’s also a handy method for dealing with multiple parcels of small minerals (like the opals I cleaned recently) or knocking off the worst of the dirt without having to empty the entire ultrasonic tank.
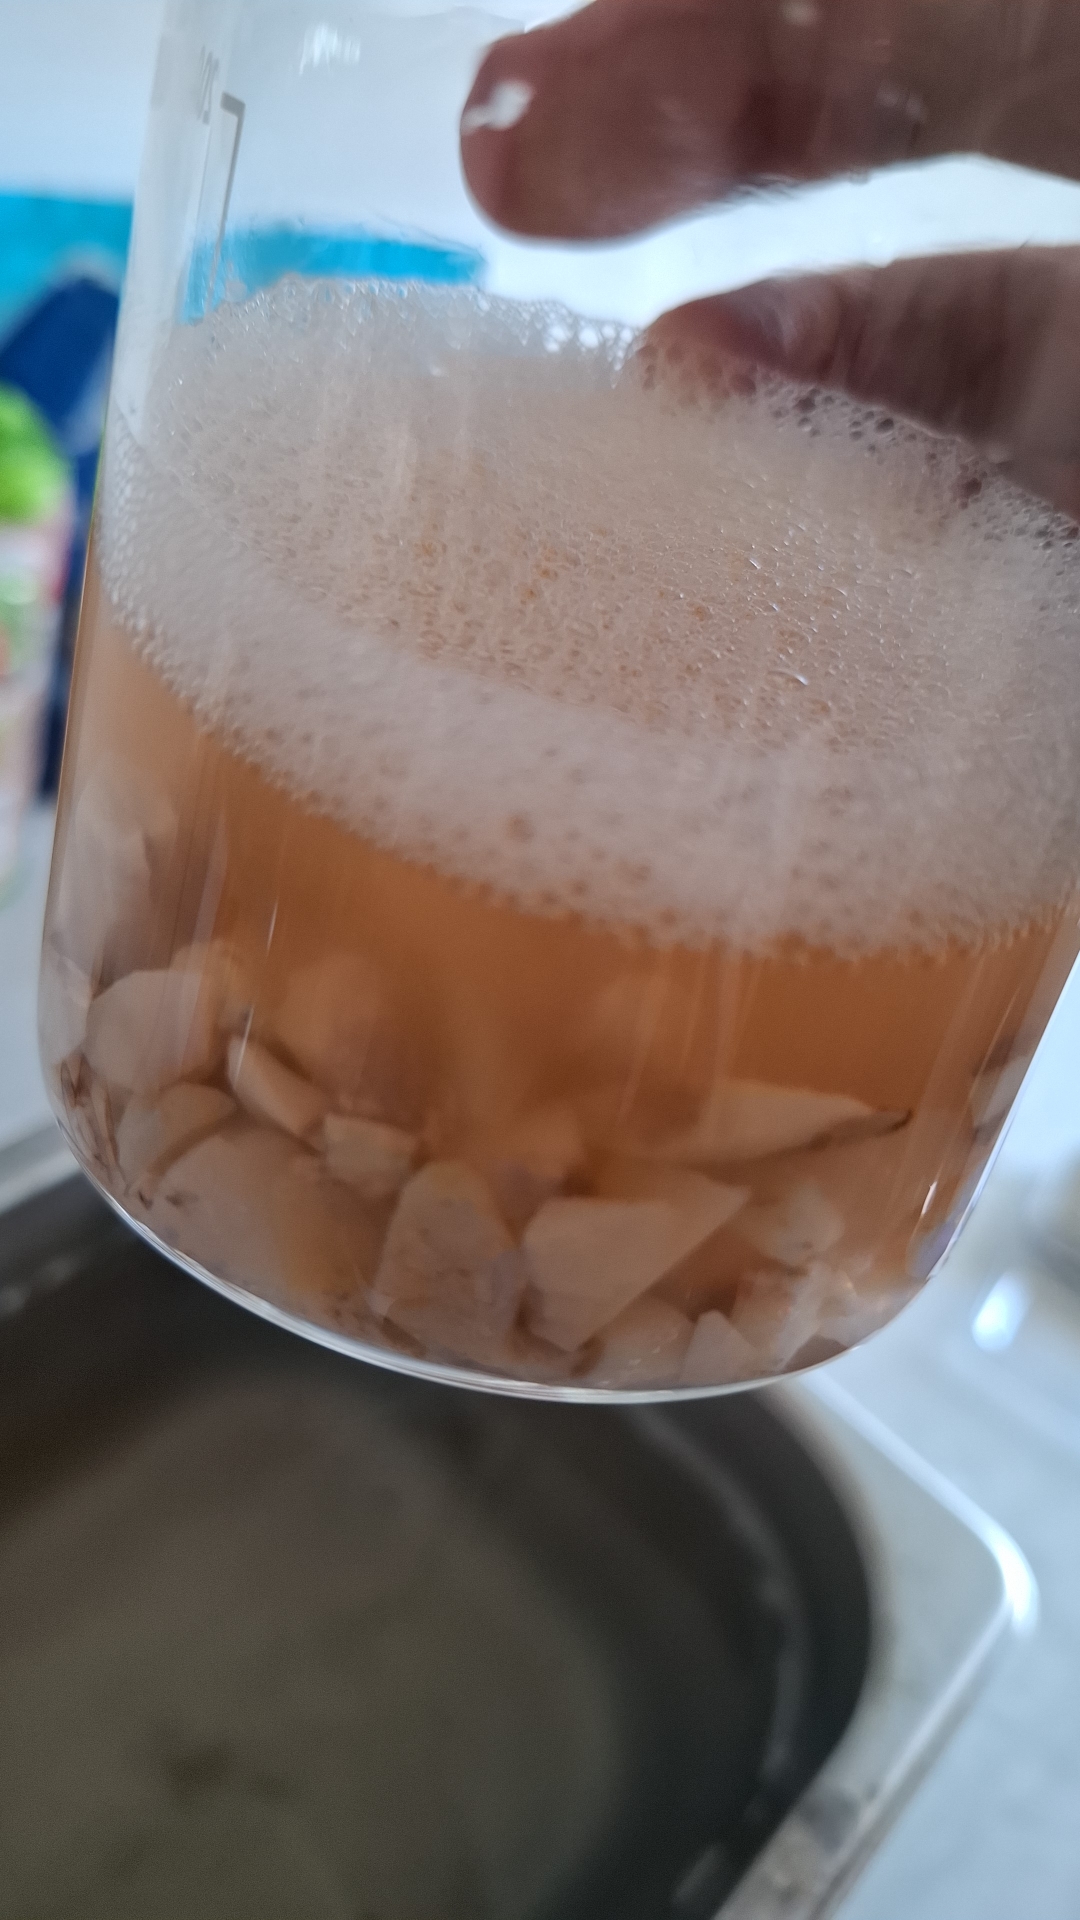
Beakers are cheap, and you can get them from most lab supply companies locally for R40 – R80 depending on the size you pick. Lab supply companies really are your friend, for equipment and consumables – I’ve found them to be faster, more effective and cheaper than most of the usual outlets available to the hobby. And no, you don’t need a license or special document, just a cell phone.
Chemicals
Although there are other mechanical methods (textile guns come to mind), things like abrasive blasting (think a mini sand blaster with different types of media) are messy and often come at a high entry (capital) cost, so I’m going to skip those. If you’re looking at them, you’re already doing some variation of everything written here.
As a disclaimer, whatever you do with chemicals is your responsibility. Make sure you’ve got the correct PPE and have read both the MSDS document and some guide on handling whatever you’re using. Even some of the common things like oxalic acid can, with repeated unsafe use, cause terrible things, from loss of eyesight to early arthritis. Be careful!
To build on that, the two most common things used in South Africa to clean mineral specimens are pool acid (hydrochloric acid) and oxalic acid. Both actively and vigorously dissolve certain carbonates (like calcite), can leave insoluble precipitates (that you need to mechanically remove) if you put the wrong things in them, and, oxalic especially, with the “beaker method” ultrasonic cleaner is quite effective at pulling out reddish (iron) stains about 60 percent of the time, especially if warm (40-50 degrees). It’s quite vicious at those temperatures, so be careful! Both can be bought quite easily at your local hardware store.
Both of these acids are quite effective for cleaning quartz, and this is their general use with respect to mineral cleaning – Orange river quartz, Artonvilla (ajoite!) quartz, boekenhoutskloof spirit quartz, the list goes on. Starting with a toothbrush and soapy water first is suggested.
Stronger acids, like sulphuric and nitric acid have their uses – It’s better to start building up your “mineral cleaning kit” with the gentler, general pool acid and oxalic acid. HF, I’m sure you’ve heard of, is one of the only things that will attack quartz – It’ll attack your bones though, and even a single dilute drop or smear will land you on a heart monitor in hospital.
Funny enough, everyone misses the milder things, like vinegar. The beaker method mentioned earlier, with the ultrasonic cleaner (heating element off) is an extremely effective way to, for instance, remove calcite from dioptase without touching the dioptase at all. The vinegar solution is, however, quickly saturated with calcium from the calcite, and you have to replace the solution often. It’s quite a long process.
What can’t I clean?
Water soluble things, don’t even try. Google the mineral first! All the usual suspects (quartz crystals, calcites, fluorites, azurites, mimetites, etc.) are safe in the ultrasonic cleaner. Even rhodochrosite is fine! Out of that list quartz and fluorite is fine in pool acid or oxalic acid. I haven’t tested azurite in vinegar (it’s on my one-day to-do list!)
Delicate things I wouldn’t go at with the toothbrush, however a dunk in the ultrasonic is probably fine.
Two things I know for sure – Ultrasonics will tarnish most native silver specimens almost instantly, and opals are fine with water. Acid turns them into a crumbly dull mess.
Cleaning minerals is often trial and error – Test on a small piece, ask around before you try something with your prize specimen!
Other tricks
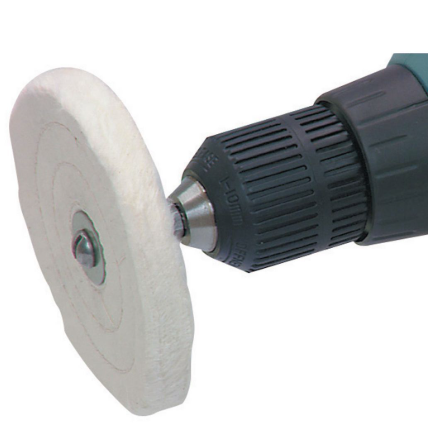
Super glitzy quartz, or fluorite, or most (not softer than fluorite, adverse results) minerals with some very fine surface scratching, or just dull? You can use 1 micron polishing compound (like the type described here), a portable drill (obviously, you’re not using the hammer function) and a buff wheel from the hardware store are all you need. Go ham on the specimen! It makes a remarkable difference. I’ve even had good results cleaning up cerussite from Tsumeb like this.
Alu-shine is another one. You have to refresh (replace) the solution often, and be somewhat careful while handling, however it works great for cleaning stubborn iron or rust stains off quartz crystals.